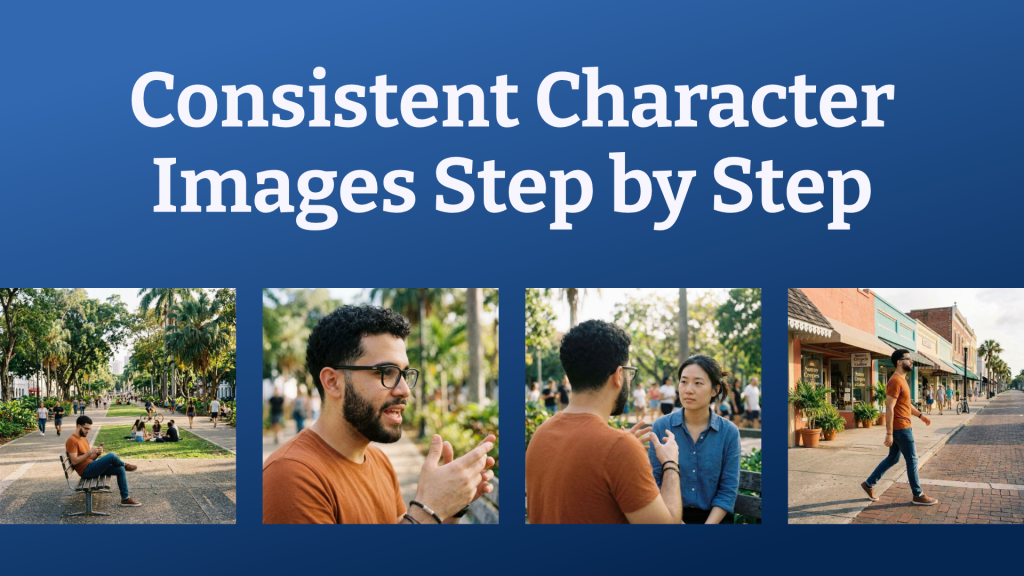
I recently ran a poll on LinkedIn to ask what people’s biggest challenges are with AI images. Hardly anyone said they need help just getting started with AI images; it sounds like most people have at least tried generating AI images. But 38% of the respondents said they struggle with consistency, and a lot of the comments specified that they’re having trouble generating consistent characters for scenes. In this post, I’m going to walk through a step-by-step example of how I generated some consistent character images. You’ll see my prompts and results (including the results that didn’t turn out on the first try and how I iterated them to improve them). In total, I generated 9 images in order to get the final 4 results you see here. That means I kept less than half of what I generated, and I sometimes needed more than one try to get it right.

Step 1: Reference image
The first step to generating a set of consistent character images is generating a reference image. Sometimes I initially generate a character on a blank background for my reference image, but this time I just started with an image of the character in a scene. For a larger set of images, a full body reference image or a character sheet from multiple angles is helpful. I knew this was going to just be a small set though; I was experimenting with camera angles for a blog post.
I used my standard image prompt framework to specify the image style, subject, action, setting, and details. All of the images in this post were generated in Flora with the Nano Banana 2 model.
Editorial photo, Puerto Rican man in his 20s with a beard trimmed close, wearing a dark orange shirt and blue jeans, black glasses, sitting on a bench at a park looking at his phone, low camera angle

Results: As you can see, this image didn’t quite work. What’s going on with that wooden half bench back or fence in front of him? I like the character, but the physics doesn’t make sense.
Using the initial image as a reference image by attaching it to the prompt, I asked for a new image.
Pan out to a wide angle establishing shot of the park with this man sitting in the bench viewed from farther away

Results: Just panning out and changing the scene got rid of the weird wooden half bench in front of it. It changed several other details in the image as well: he’s no longer smiling, there’s now a section of green grass where people are sitting instead of trees. It’s still the same person with the same outfit though; the character consistency is good.
I wanted to see what this would look like with more grass instead of his bench being on a paved area.
Extend the grass to the bottom of the image so the grass is under the bench. Keep everything else the same.

Result: This gave me a weird patch of grass underneath. I didn’t like this iteration, so I discarded it and decided to stick with the previous one.
Step 2: Change the action
With my initial character reference ready, I could start generating additional images of this character. I used my very first image as the character reference here since it was a closer image. I changed the action and the camera angle. Because I attached the reference image to the prompt, all I needed to say was “this man,” and Nano Banana maintains the details.
Create a close shot, side angle, profile view of this man talking and explaining something, head and shoulders only.

Result: I liked how the character turned out here. His pose looks fairly natural, and his skin texture looks fairly realistic even in this close up. Because I used that very first image as my reference, you can still see the weird wooden half bench in the background, but at this angle it just looks like he’s standing near a bench.
Step 3: Change the camera angle
Next, I wanted an image where I changed the camera angle. I wanted to show him talking to another character, but with the camera behind him. I used the image of him talking as my reference image. This means I’m only changing one thing: the camera angle.
Create an over the shoulder image showing the back of this man's head while he's talking.

Results: The camera angle change worked on the first try. I’m happy with the consistency of the character here.
Step 4: Add another character
Now, I needed another character in the scene so it’s clear who he’s talking to.
Zoom out to show that the man is talking to a Chinese woman who is listening with a neutral expression. She is wearing a blue shirt.

Results: Success in one try! The AI panned out the camera to give more space for the second character while maintaining the first character.
I might have been able to do steps 3 and 4 together, but I find that I often get better results when I limit the edits to one major change at a time.
Step 5: Change the setting
I also wanted an image of this character walking. For my first try, I kept the scene in the park.
Create a tracking side angle image of this character walking on a paved trail in a park, afternoon sunlight

Results: If I only needed a single image, this one might have worked OK. But when you see it side-by-side with the image of him sitting on the bench, you realize that the background is the same. I didn’t tell the AI to choose a different part of the park, so it created an image by removing the bench and keeping the character in the same location.
Rather than trying to get an image in this park, I decided to change the scene entirely and put him walking on a street.
Change the background to be a quaint main street of a small town in Florida

Results: The character consistency is good, but the setting has multiple problems. What’s with the weird vintage cars, especially the brown one in the back? And the name of the restaurant is the…”Florida Cracker Cafe”? Um, that’s certainly an interesting choice that the AI made. This is a great example of why you need to check your AI images, including the background details. I decided to leave the greenery in front of the restaurant, but I often iterate images to tell the AI to remove the proliferation of potted plants.
In my prompt for changing the text, I put the exact words I wanted on the sign in quotation marks. I made two edits at once here. If that had failed, I would have gone back and split up the changes across two edits.
Change the name of the "Florida Cracker Cafe" to "Sunny Crepes and Coffee". Remove the cars on the street.

Result: This one looks much better. I could still do more with the other signs in the background. It depends how you’re using an image how much you need to zoom in and inspect it. This image series was for a blog post banner, so I knew I wasn’t going to use them in a large format. In a small size, the background text is probably OK as is. If this was a hero image in a course, I would spend more time polishing those details.
Step 6: Review all images
After finishing the entire image set, I looked at them all together one more time to make sure I didn’t need to make any further adjustments. Here’s what the whole set looks like in Flora. I generated 9 images and kept 4. In the screenshot below, you can see my workflow, moving generally left to right. Each connecting line shows where I used a reference image.

Bonus images
I also generated two more images later in response to someone’s question about images of people opening doors and windows. Both of these images have some issues, but opening windows was particularly challenging to get right. Because the AI image models don’t generate images based on actual physics, they get these sorts of details wrong regularly.


Edit and iterate to improve your AI images
A lot of AI images look really obviously AI. Partly, that’s because people generate something and just accept the first result. Better initial prompting and providing design guidelines can improve that first result, but you still need to edit and iterate. I hope this worked example of my step-by-step process of creating consistent character images helps you learn to edit and iterate your own images more effectively.
AI Image Workshop October 14
If you want more practice and guidance on this process of editing and iterating, sign up for my AI image workshop, From First Try to Finished. You’ll get six rounds of hands-on practice, much of which includes this kind of image refinement like I showed in this post. We’ll debrief each round of practice to talk about what worked and what didn’t, and I’ll provide feedback and coaching on how to improve your results. You’ll get 3 hours of specific tips I’ve learned through doing it myself plus time to immediately apply what you learn.
Registration closes Tuesday, October 13.
The post Consistent Character Images Step by Step appeared first on Experiencing Elearning.